AI Hat Design Generator
A hat is the least forgiving thing in merchandise. The usable area on a cap front is roughly the size of a credit card, the fabric curves in two directions at once, and most designs are stitched rather than printed, which means fine detail simply disappears into thread. This AI hat design generator builds artwork around those limits and shows it on a real hat in about twenty seconds, at up to 4K, in six styles: embroidered dad hat, trucker patch, knit beanie label, all-over print bucket hat, snapback emblem and a matched collection. Pick a style, describe your emblem and colours, and see the cap before you pay a setup fee.
Try It Now — Free
Pick the hat style first, then use the details box for your emblem, your thread colours and the colour of the cap itself. Every preset already carries the things a stitched hat cares about — bold simple shapes, a small tight colour count, thick enough lines to survive being sewn and a design scaled to the panel it has to live on.
AI Hat Design Generator
Pick a hat style, describe your emblem and colours, and see it on a real cap
Hats From the AI Hat Design Generator
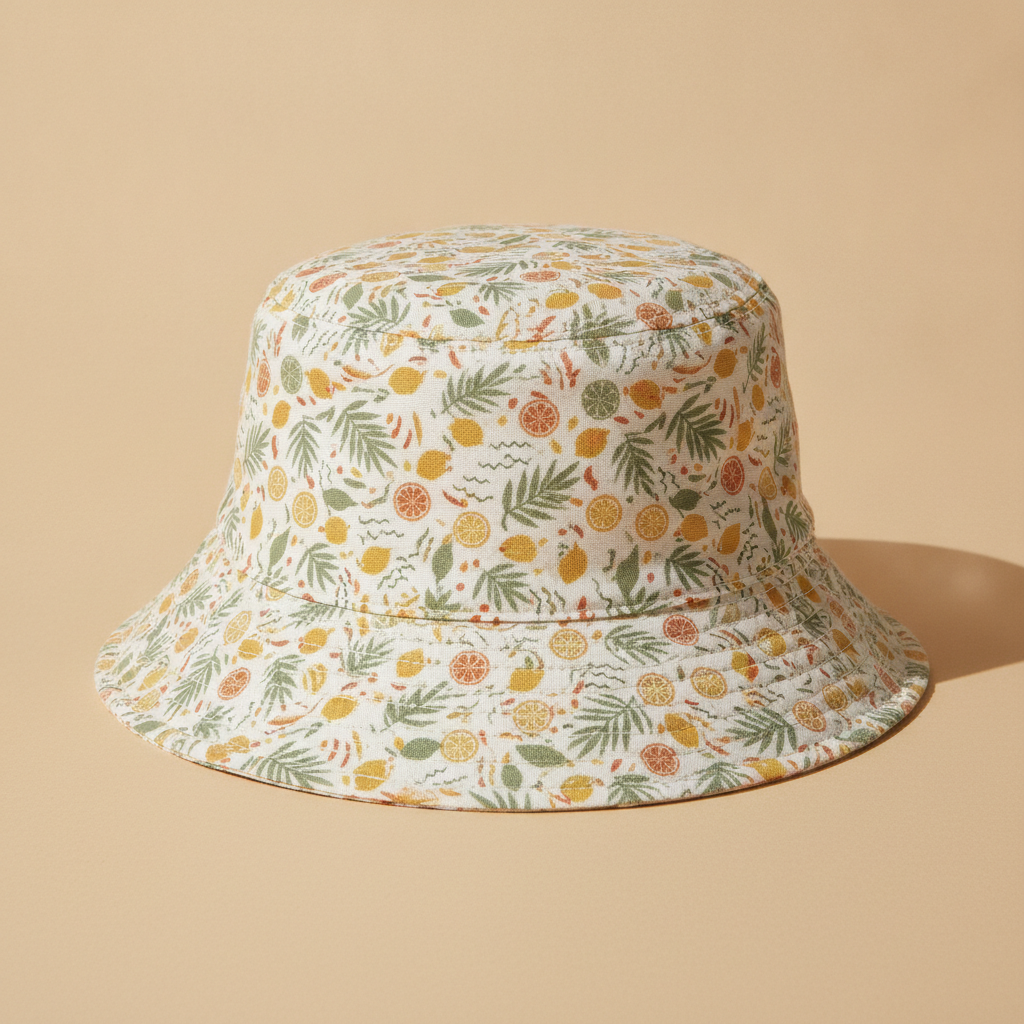
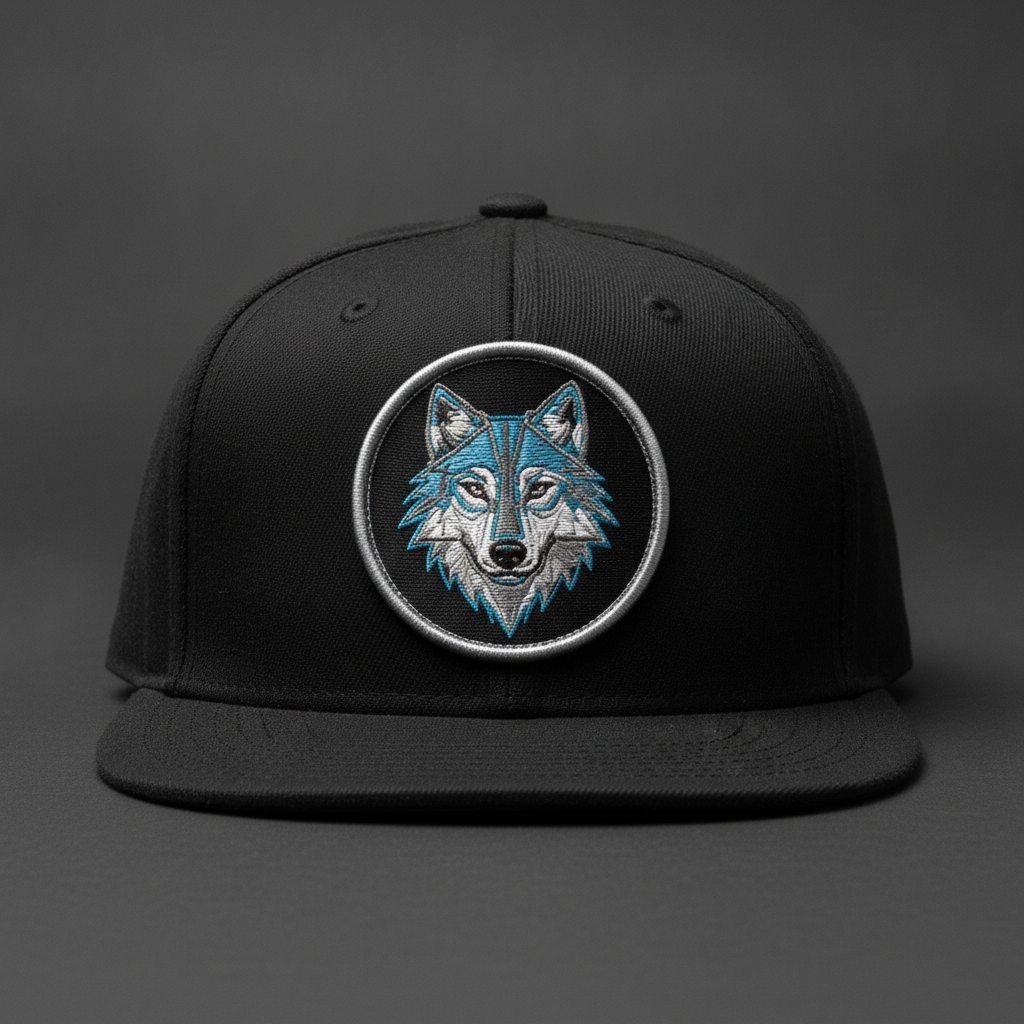
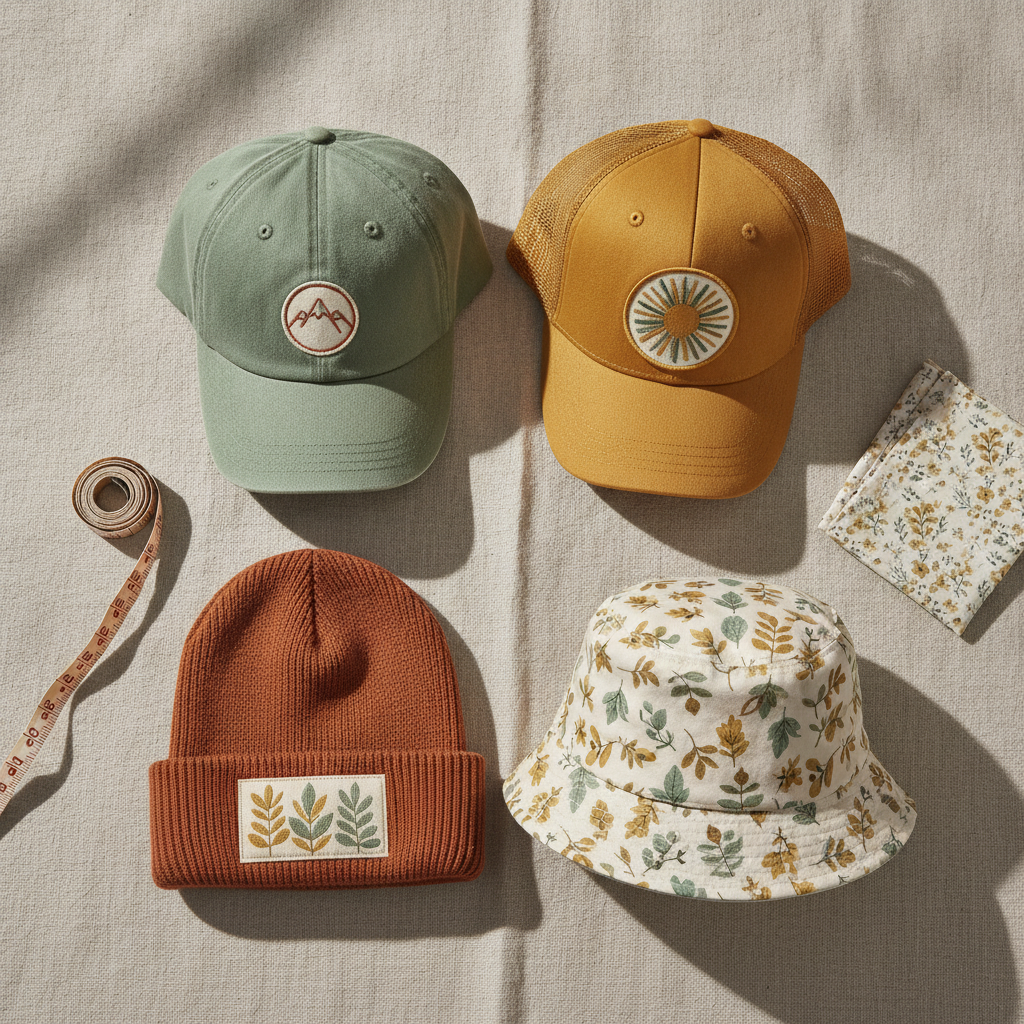
Dad hat, trucker, beanie, bucket hat, snapback and a matched collection — the six shapes that account for almost every hat anybody actually orders
How the AI Hat Design Generator Works
Three steps from an idea to artwork you can hand to an embroiderer
Pick the Hat, Because the Hat Picks the Design
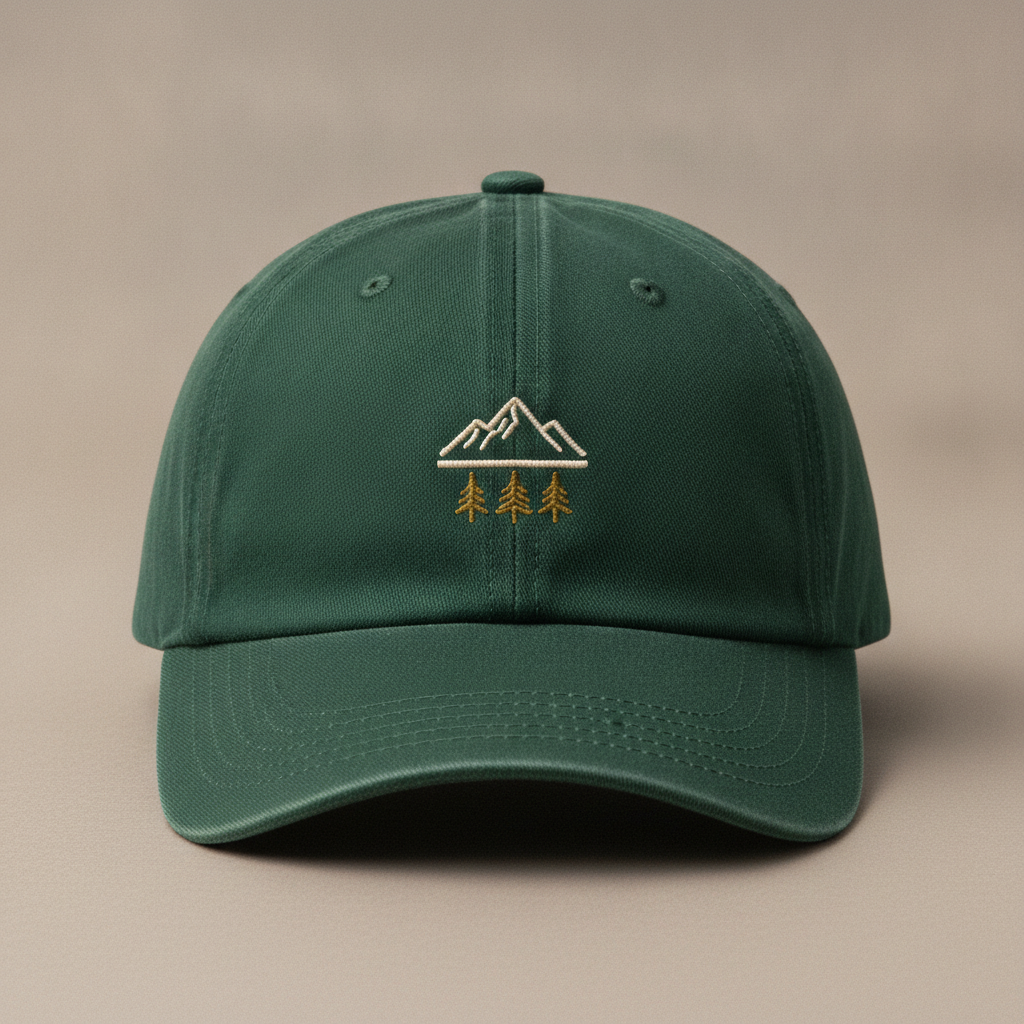
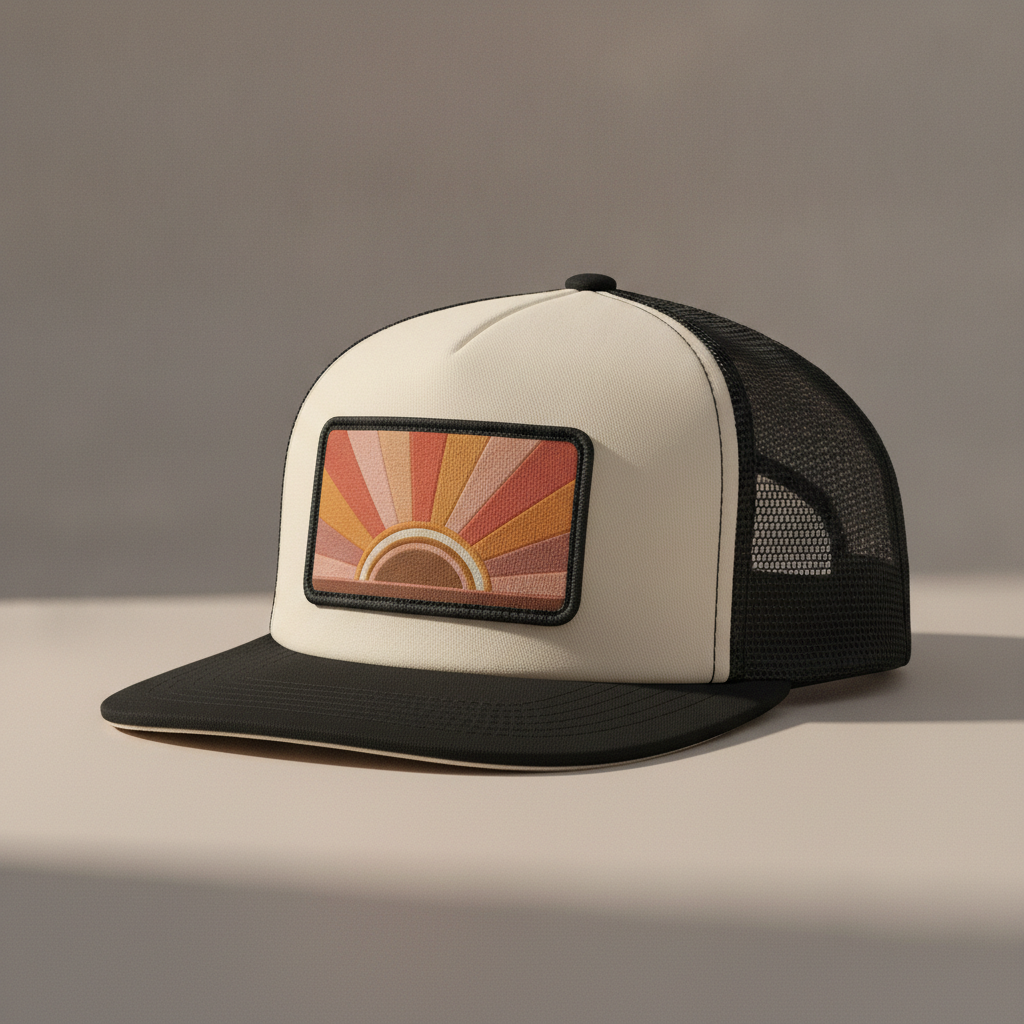
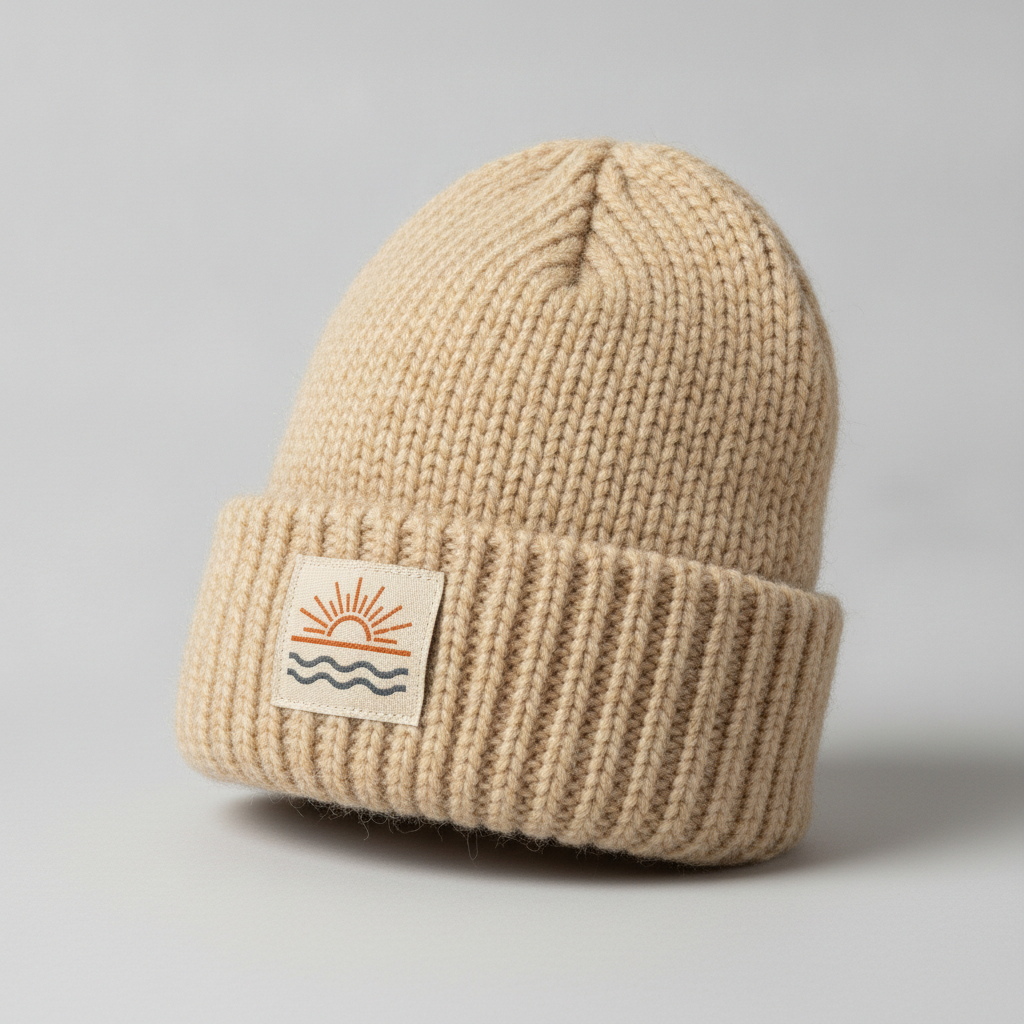
The blank decides more about the artwork than the artwork does. An embroidered dad hat gives you a small curved front panel, which is why nearly every good one carries a simple two-colour emblem and nothing else. A trucker cap gives you a flat structured front that holds a rectangular patch, so it can take a whole scene, and the patch is stitched separately then sewn on, which means detail survives that would die on a curved panel. A beanie has no front at all — the design lives on a small woven label at the cuff, so it has to work at postage-stamp size. A bucket hat is the outlier and the most generous: the whole thing is printed, so you get an all-over pattern instead of a badge. A snapback has the largest flat panel of the lot and is the only shape that comfortably takes a bold circular patch. Choosing the shape first saves you designing something the blank cannot carry.
Describe the Emblem, the Thread Colours and the Cap Colour
Three things carry the result and they are all worth naming explicitly. Name a concrete emblem rather than a mood — a stitched surfing pelican, a geometric coffee bean, a mountain range over three pines — because the preset supplies the layout and you supply the subject. Name the thread colours and keep them to two or three, since every additional colour in embroidery is another thread change, another chance of a puckered join and, at most shops, another line on the invoice. Then name the cap colour, because contrast is what makes a small emblem readable from across a room: cream thread on washed navy or forest green reads instantly, while tonal thread on a similar cap looks subtle in a photograph and invisible in real life. Bold shapes and few colours are not a stylistic preference here, they are what stitching can physically do.
Generate, Then Take It to an Embroiderer
Each design arrives in about twenty seconds at up to 4K, shown on a real hat so you can judge scale, contrast and whether the emblem sits right above the brim. Use it two ways. As a sample, it is the mockup you put in front of a client, a team or a shop before anyone commits — and it is far more persuasive than a flat logo on a white page. As a brief, it is what you send to an embroidery shop: they will digitise the artwork into a stitch file, which is the step this tool does not do and the step that costs a one-off setup fee. For an all-over bucket hat print or a sublimated design, ask for the flat artwork instead — the pattern on a plain background with no photographic hat — and send that to your print-on-demand supplier.
Why Use an AI Hat Design Generator
Six things that decide whether a hat design survives being stitched onto a curved panel
The Front Panel Is Smaller Than You Think
The usable area on the front of a cap is roughly the size of a credit card — commonly around ten centimetres wide and five or six tall before you run into the seams, the brim and the curve of the crown. Designers coming from t-shirts consistently arrive with artwork built for a chest print and are surprised when it has to be shrunk by two thirds. What shrinks well is a compact emblem with a strong outline. What does not is a wide horizontal lockup, a detailed illustration or anything with a fine internal texture, all of which turn into a smudge at hat size. The honest test is to look at the design at actual size on a phone screen from arm’s length: if you cannot tell what it is, an embroiderer cannot save it, and the fix is always to simplify rather than to shrink further.
Stitching Cannot Do Fine Detail
Embroidery draws with thread, and a thread has a minimum width. That single fact rules out more designs than any aesthetic judgement. Lines thinner than roughly a millimetre at final size close up into a lumpy ridge, small gaps between shapes fill in, subtle gradients cannot exist at all because each colour is a separate physical thread, and small type below about five millimetres becomes an illegible smear. The designs that look sharp on a cap are the ones built the way a woodcut is built: bold silhouettes, clear separation between shapes, flat blocks of colour and a limited palette. The presets here are written to generate exactly that kind of artwork, which is why the results look like real stitched hats rather than like a logo pasted onto a photograph.
Curved Panels Distort Whatever You Put On Them
A cap front is not flat. It curves left to right across the crown and rolls away towards the brim, so a design sitting on it is being stretched over a compound surface. Wide artwork suffers most, because the outer edges bend away from the viewer and a long horizontal shape starts to look bowed. Tall artwork runs into the brim. This is why the classic cap emblem is compact and roughly square or circular — the shape distorts least on a curve — and why structured caps with a flat front panel, like truckers and snapbacks, can carry a rectangular patch that would look warped on a soft dad hat. Seeing the design on the actual hat shape, rather than as a flat file, is the fastest way to catch this before the sample stage.
Colour Count Is a Cost, Not Just a Look
On a printed shirt, extra colours are close to free. On an embroidered hat they are not. Each thread colour means another change on the machine, another trim and, at many shops, another charge — and past three or four colours the design also starts to look busy at a size where it needs to read instantly. There is a practical trick worth knowing: the cap itself counts as a colour. A design that uses the fabric as its background rather than stitching a filled block behind everything is cheaper, faster, softer to wear and usually better looking, because dense fill on a curved panel is what causes puckering. Two thread colours on a well chosen cap colour is the formula behind most hats that people actually wear, and the presets lean that way deliberately.
Hats Sell as Ranges, Not as One Cap
Nobody orders a single hat. A team wants a cap and a beanie, a coffee shop wants a dad hat for staff and a trucker for the shelf, a print-on-demand shop wants the same emblem across four shapes so one design earns four listings. The hard part has always been consistency: the same emblem has to be redrawn at different sizes and in different techniques for each blank, which by hand means paying for the work several times over. Here it means holding the palette and the emblem steady while changing the hat, and the Hat Collection preset generates four coordinating pieces in one pass. A matched range also photographs far better than a single cap, which matters more than it should for a product bought largely from a listing photo.
Free to Start, $9.98 to Go Further
You can generate hat designs free without a credit card, which is enough to find out whether an emblem works at cap size before you pay anyone a setup fee. Paid plans start at $9.98 for real work: building a matched range across four blanks, testing the same emblem on six cap colours, or the repeated passes it takes to get an emblem simple enough to stitch cleanly. Output reaches 4K without a watermark and is cleared for commercial use, which is what matters once designs are going to an embroiderer and onto stock you have paid for. Set against a few hundred for a freelance designer and a week of back and forth, being able to try a dozen directions before choosing one changes which hat you end up ordering — and it is rarely the first.
Frequently Asked Questions
Common questions about using an AI hat design generator
Design the Hat in Twenty Seconds
Pick a style, describe your emblem and colours, and see it on a real cap at up to 4K — dad hat, trucker, beanie, bucket hat, snapback or a matched collection. Powered by Nano Banana Pro. Free to start, plans from $9.98.
A Credit Card of Space: the AI Hat Design Generator
Designing a hat used to start with the most expensive step. You briefed a designer, waited a week, paid a few hundred, then paid a digitising fee on top — and only when the sample cap arrived did you find out that the emblem was too wide for the panel or that the thread vanished against the fabric. An AI hat design generator inverts that order. You describe the shape, the emblem and the colours, and the design arrives on a photographed cap in about twenty seconds, which makes the deciding cheap and leaves only the manufacturing expensive. On a product where a minimum order is fifty pieces, trying a dozen directions before choosing one is worth far more than it costs.
The six presets exist because the blank dictates the artwork. The embroidered dad hat carries a small two-colour emblem on a curved panel, which is the classic and the safest seller. The trucker patch is made flat and sewn on, so it holds a whole scene that a curved panel would destroy. The beanie label works at postage-stamp size on a knit cuff. The bucket hat is printed rather than stitched, so it takes an all-over repeat instead of a badge. The snapback gives the largest flat area of any cap and suits one bold circular graphic. And the collection preset generates four coordinating hats in one palette, because hats are ordered as ranges and photographed as sets.
Two habits improve nearly every hat design. Keep the shapes bold and the colour count to two or three, because thread has a minimum width and every extra colour is another machine change on the invoice. And choose the cap colour as deliberately as the thread, since contrast is what makes a small emblem readable at a distance and the fabric itself is the cheapest colour in the design. Shape, emblem, palette: three decisions, and the stitching does the rest.
What the AI Hat Design Generator Will Not Do
It will not make a hat, and it will not produce a stitch file. What you get is artwork shown on a cap, which is what you need for judging scale, contrast and placement and for a listing photo while you test demand — but an embroidery machine runs on a digitised DST or PES file, and creating that is a separate paid step at your embroidery shop. Generate the design you like, run it again asking for the flat emblem on a plain background, then clean it up with the AI background remover and enlarge it with the 4K image upscaler so the outline stays crisp when the shop scales it to size.
It will not guarantee the stitch-out either, because thread is not pixels. Dense fill puckers on a curved panel, thread colours never match a screen exactly, and an emblem that reads well in a mockup can lose its fine detail once it is sewn — so always approve a physical sample before a production run. For neighbouring jobs there are better fits: the AI embroidery design generator covers stitched artwork beyond hats, AI logo generator builds the mark before you put it on anything, the AI t-shirt design generator and the AI hoodie design generator extend the same emblem across apparel, the AI tote bag design generator and the AI sticker generator round out a merch range, and the AI mockup generator places a finished design into styled shop photography. For any lettering, text in images explains what type the model can reliably set.
Within those limits the work is yours to use. Output reaches 4K with no watermark and is cleared for commercial use, which covers market stalls, Etsy and Shopify listings, print-on-demand shops, team and club orders, staff uniform and client jobs alike. Keep other people's property out of it — sports teams, universities, band marks, licensed characters and the style of a specific named living designer — because hats attract exactly those requests. Check the AI policy of whichever marketplace you sell through, and know that in the United States purely AI-generated images are not registrable for copyright, so selling the hat is fine but stopping an imitator may not be. It is free to start with no credit card and plans begin at $9.98. Pick a shape, name your emblem, and see the cap before you pay the setup fee.
Try the AI hat design generator free today. Pick one of six hat design styles, describe your emblem and colours, and see it on a real cap at up to 4K. No credit card required to start. Paid plans from $9.98.